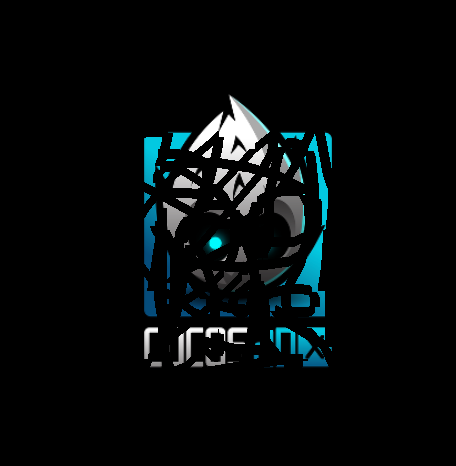
先直接上模拟器上运行效果图

代码也不复杂,只要知道怎么用clippingNode即可,先放上代码
1
2
3
4
5
6
7
8
9
10
11
12
13
14
15
16
17
18
19
20
21
22
23
24
25
26
27
28
29
30
31
32
33
34
35
36
37
38
39
40
41
42
43
44
45
46
47
48
49
50
51
52
53
54
| bool HelloWorld::init() {
if ( !Layer::init()) {
return false;
}
auto winsize = Director::getInstance()->getWinSize();
auto width = winsize.width;
auto height = winsize.height;
auto stencil = mDrawNode = DrawNode::create();
auto cnode = ClippingNode::create(stencil);
cnode->setContentSize(winsize);
cnode->setInverted(true);
auto s = Sprite::create("HelloWorld.png");
s->setPosition(width * 0.5,height * 0.5);
cnode->addChild(s);
this->addChild(cnode);
auto listener = EventListenerTouchOneByOne::create();
listener->onTouchBegan = std::bind(&HelloWorld::onTouchBegan, this, std::placeholders::_1, std::placeholders::_2);
listener->onTouchMoved = std::bind(&HelloWorld::onTouchMoved, this, std::placeholders::_1, std::placeholders::_2);
EventDispatcher* ed = Director::getInstance()->getEventDispatcher();
ed->addEventListenerWithSceneGraphPriority(listener, this);
return true;
}
bool HelloWorld::onTouchBegan(cocos2d::Touch *touch, cocos2d::Event *event) {
mTouchBeganPos = touch->getLocation();
return true;
}
void HelloWorld::onTouchMoved(cocos2d::Touch * touch, cocos2d::Event * event) {
Vec2 pos = touch->getLocation();
std::vector<cocos2d::Vec2> vec(2);
vec[0] = mTouchBeganPos;
vec[1] = pos;
mPoints.push_back(vec);
mTouchBeganPos = pos;
refresh();
}
void HelloWorld::refresh() {
mDrawNode->clear();
mDrawNode->setLineWidth(10);
for(std::vector<std::vector<cocos2d::Vec2>>::iterator iter = mPoints.begin(); iter != mPoints.end(); iter++) {
std::vector<cocos2d::Vec2> vec = *iter;
mDrawNode->drawLine(vec[0], vec[1], Color4F::RED);
}
}
|
简单介绍一下clippingNode。它有一个stencil(可以是任何Node)用来决定切割区域,clippingNode的children都会被stencil切割,代码里我们的stencil是一个drawNode,需要擦除的图片HelloWorld.png添加为clippingNode的子节点。本来除了drawNode渲染的区域外都会被切割,我们通过setInverted接口设置后变成了相反,drawNode渲染的区域将被切割,被切割后我们就看到了图片下面的黑色背景,于是就呈现出擦除的效果。
使用setAlphaThreshold接口可以设置alpha阈值,当stencil中像素的alpha值大于这个阈值时,才会被绘制
Ursprünglicher Link: http://yangguang1029.github.io/2016/12/01/cocos-clippingNode/
Copyright-Erklärung: 转载请注明出处.
